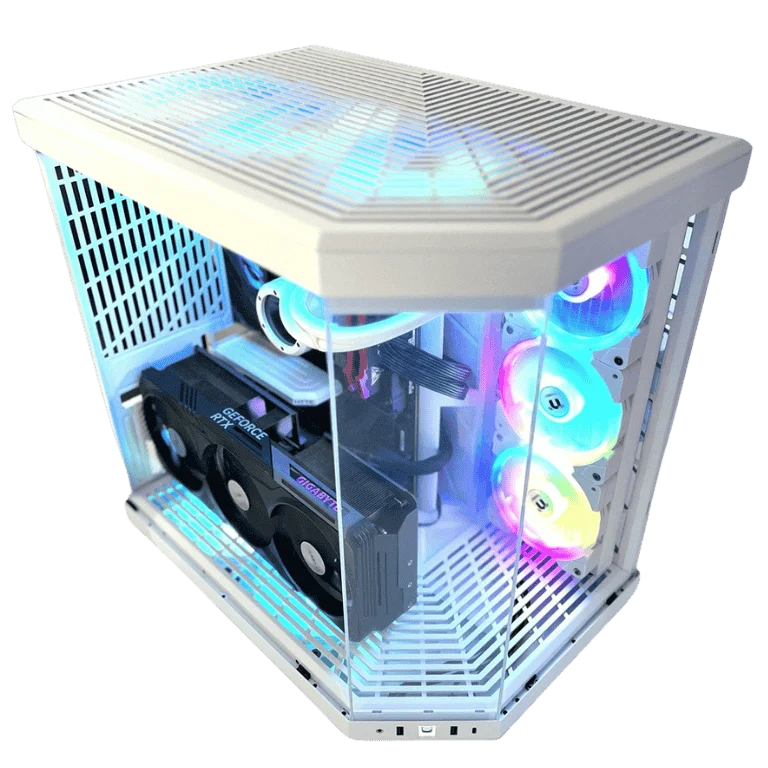
Learning how to build a PC is one of the most rewarding things you can do as a gamer. It is easier than most people expect: modern PC parts only fit one way, the connectors are clearly labelled and the whole job takes an afternoon. You end up with a machine you understand inside and out, and the confidence to upgrade it yourself later.
This guide covers everything, from choosing compatible PC parts and gathering tools to the exact assembly order we use on our own bench, the first boot, BIOS settings and Windows setup. We build PCs every day in Gregory Hills, NSW, so we have also included the beginner mistakes we see most often and how to avoid them.
Should you build or buy?
Building is fun, educational and lets you choose every part. Buying a prebuilt saves time, removes the risk of mistakes and gives you one warranty for the whole system. In 2026, with memory and graphics card prices elevated, a prebuilt can also cost about the same as the parts. If you are unsure, our guide to the best gaming PC in Australia compares both routes. If you are ready to build, read on.
The PC parts you need
Every desktop PC is made from the same core PC parts.
- Processor (CPU): runs Windows, apps and game logic.
- Motherboard: connects everything together. It must match your processor’s socket.
- Memory (RAM): short-term workspace. Current platforms use DDR5.
- Storage: an NVMe SSD for Windows and games.
- Graphics card (GPU): draws every frame in games. The most important part for gaming.
- Power supply (PSU): powers every component. Never skimp on quality here.
- CPU cooler: keeps the processor cool. Some processors include one, many do not.
- Case: houses everything and provides airflow.
You will also need a Windows licence, a USB stick of at least 8GB for the installer, and a monitor, keyboard and mouse.
Choosing compatible PC parts
Compatibility is the part of learning how to build a PC that worries people most, but it comes down to a handful of checks.
Processor and motherboard socket
AMD Ryzen 7000 and 9000 processors use the AM5 socket. Intel Core Ultra 200S processors use LGA 1851. The motherboard must have the matching socket and a BIOS that supports your chip.
Memory type
AM5 and LGA 1851 motherboards use DDR5 only. Buy a matched two-stick kit for dual-channel performance. Our DDR5 RAM guide explains capacity and speed.
Case size and motherboard form factor
ATX motherboards need a mid-tower or larger case. Micro ATX boards fit smaller cases. Check the case’s supported form factors before you buy.
Graphics card length and cooler height
Modern graphics cards can exceed 330mm in length. Tall tower coolers can exceed 160mm. The case specifications list the maximum for both.
Power supply wattage and connectors
Choose a quality unit with headroom above the graphics card maker’s recommendation, and check it has the right connectors. Many RTX 50 Series cards use a 16-pin 12V-2×6 cable, which ATX 3.1 power supplies provide natively.
A free tool such as PCPartPicker checks most compatibility issues automatically as you add PC parts to a list, and shows an estimated power draw.
Example PC parts lists
| Part | Budget 1080p | Mid-range 1440p | High-end 4K |
|---|---|---|---|
| Processor | Ryzen 5 7500F or 9600X | Ryzen 7 7800X3D | Ryzen 7 9800X3D |
| Graphics card | RTX 5060 or 5060 Ti 16GB | RTX 5070 or 5070 Ti | RTX 5080 or 5090 |
| Memory | 16GB to 32GB DDR5-6000 | 32GB DDR5-6000 | 32GB to 64GB DDR5-6000 |
| Storage | 1TB NVMe SSD | 2TB NVMe SSD | 2TB to 4TB NVMe SSD |
| Power supply | 650W quality unit | 750W to 850W | 850W to 1200W ATX 3.1 |
| Cooler | Single-tower air | Dual-tower air or 240mm AIO | 240mm to 360mm AIO |
Tools you need
- A Phillips #2 screwdriver, ideally magnetic.
- Cable ties or Velcro straps for cable management.
- A torch or good desk lighting.
- A small bowl for screws.
- Optional: an anti-static wrist strap, side cutters for cable ties, and isopropyl alcohol and a lint-free cloth for thermal paste.
Prepare your workspace
Work on a large, clear table rather than carpet. Touch a metal part of the case or a grounded object before handling components to discharge static, and avoid working in socks on carpet. Keep the motherboard box nearby, as it makes a handy, safe surface for the first steps. Have the motherboard manual open, either on paper or on a phone, because it shows exactly where every connector goes.
How to build a PC: the 12 steps
This is the order we use on our bench. Doing as much as possible outside the case makes the job easier.
Step 1: Install the processor
Lift the socket lever on the motherboard, line up the triangle marker on the processor with the marker on the socket and lower the chip gently into place. It should drop in with no pressure at all. Close the lever. On AM5 and LGA 1851 boards the plastic socket cover pops off as you close it. Keep the cover in case you ever need to return the board.
Step 2: Install the memory
Open the slot clips and check the manual for the recommended slots. For two sticks this is usually A2 and B2, the second and fourth slots from the processor. Line up the notch and press each stick down firmly until the clips click.
Step 3: Install the M.2 SSD
Remove the M.2 heatsink if the board has one, insert the SSD at a slight angle into the slot nearest the processor, press it down and secure it with the screw or latch. Remove any protective film from the heatsink pad and refit it.
Step 4: Mount the CPU cooler
Fit the mounting brackets for your socket, apply thermal paste if the cooler does not have it pre-applied, then seat the cooler and tighten it evenly in a diagonal pattern. For an AIO liquid cooler you can mount the radiator later. Our CPU cooler guide explains the options.
Step 5: Prepare the case
Remove both side panels. Check that standoffs are in the right positions for your motherboard. Fit the I/O shield if your board does not have one built in. Plan where fans and any radiator will go.
Step 6: Install the motherboard
Lower the motherboard into the case at an angle so the rear ports line up with the I/O cut-out, then rest it on the standoffs. Secure it with the screws provided, snug but not overtight.
Step 7: Install the power supply
Mount the power supply in its bay, usually at the bottom of the case with the fan facing down if there is a vented filter. If it is modular, connect only the cables you need: the 24-pin motherboard cable, the 8-pin CPU cable or cables, graphics card power and any SATA power.
Step 8: Connect the motherboard cables
Route the 24-pin cable through the grommet nearest its socket and plug it in firmly. Route the CPU power cable along the top edge of the case to the top-left of the motherboard. Then connect the front panel connectors (power switch, reset and LEDs), front USB, front audio and fan cables, using the manual to find each header.
Step 9: Install the graphics card
Remove the expansion slot covers that line up with the top PCIe x16 slot. Press the graphics card into the slot until the latch clicks, secure the bracket with screws and connect the power cable. If the card uses a 16-pin connector, push it in fully until there is no gap. Fit a support bracket for heavy cards to prevent sag.
Step 10: Tidy the cables
Route cables behind the motherboard tray and secure them with ties. Good cable management improves airflow, looks better and makes future upgrades easier. Take your time here: it is the difference between a build that looks homemade and one that looks professional.
Step 11: First boot and BIOS setup
Connect the monitor to the graphics card, not the motherboard, then switch on. The first boot can take a minute or more while the motherboard trains the memory. Do not switch off during this time. Once in the BIOS, check that the processor, memory and SSD are detected, enable EXPO or XMP for your memory and set the fan curves. Update the BIOS to the latest stable version if needed.
Step 12: Install Windows and drivers
Create a Windows installer on a USB stick using Microsoft’s Media Creation Tool, boot from it and install Windows to your NVMe SSD. Then install your motherboard’s chipset drivers, the latest graphics driver from NVIDIA or AMD, and run Windows Update until everything is current.
Where to buy PC parts in Australia
Australia has a strong network of specialist computer stores, both online and in person, as well as the big electronics chains. When buying PC parts, compare prices across a few retailers, check that each listing is for the exact model you want and look at the store’s warranty and returns process. Buying all your PC parts from one store can make warranty claims simpler, because you deal with one business if anything is faulty.
Be careful with marketplace listings for second-hand PC parts. Used graphics cards and power supplies can be good value, but you inherit any wear and often lose the warranty. For the power supply in particular, new is always the safer choice.
Your PC parts checklist before you start
- All PC parts unboxed and checked for visible damage.
- Processor socket and motherboard socket confirmed as matching.
- Memory type confirmed as DDR5 for current platforms.
- Graphics card length and cooler height confirmed against the case limits.
- Power supply with the right connectors, including 16-pin if your card needs it.
- Windows installer USB prepared on another computer.
With every item ticked, you are ready to learn how to build a PC without surprises halfway through.
How to build a gaming PC for streaming
If you plan to stream, a few adjustments help. Choose at least eight processor cores, 32GB of memory and an NVIDIA graphics card for its hardware encoder, which handles the stream with very little impact on your game. A second monitor makes managing the stream far easier. Knowing how to build a gaming PC for streaming mostly comes down to giving the system enough headroom so the game and stream never compete. Plan your PC parts with that in mind from the start.
Choosing PC parts for a quiet build
Noise comes mainly from fans, so the quietest builds use larger, slower fans and parts that produce less heat. A case with a mesh front lets fans spin slower, a larger CPU cooler stays quieter than a small one under the same load, and a quality power supply with a semi-passive fan mode stays silent at the desktop. When choosing PC parts for a quiet system, also look at graphics card reviews for noise, as cooler designs vary a lot between brands.
Safety tips while you build
Learning how to build a PC is safe if you follow a few rules. Always switch off at the wall and unplug the power cable before working inside a PC. Never open a power supply, as it can hold a charge even when unplugged. Handle components by their edges, avoid touching gold contacts and keep drinks well away from the bench. Take breaks if you get frustrated. Most build mistakes happen when people rush the final steps.
Test your new build
Before you install your games, make sure the PC is stable. Run a processor stress test such as Cinebench for ten minutes, then play a demanding game for half an hour. Watch temperatures with a monitoring tool. Our guide on how to check CPU temperature shows what normal looks like.
If it does not turn on
Do not panic. Most first-boot problems are simple. Check that the power supply switch is on, the 24-pin and CPU power cables are fully seated, the front panel power switch connector is on the right pins, the memory is clicked in and the monitor is connected to the graphics card. Many motherboards have debug LEDs that point to the problem area. Our guide to computers that won’t turn on walks through every check.
Common beginner mistakes
- Forgetting to remove the plastic film from the cooler base.
- Plugging the monitor into the motherboard instead of the graphics card.
- Not enabling the memory profile, leaving RAM at a slow default speed.
- Installing memory in the wrong slots.
- Missing the CPU power cable at the top of the motherboard.
- Overtightening screws, especially on the motherboard and cooler.
- Not fully seating the 16-pin graphics card power connector.
How to build a gaming PC on a budget
When you are learning how to build a gaming PC on a tight budget, put most of the money into the graphics card, then the processor. Save on the motherboard by choosing one with only the features you need. Never save on the power supply. An NVMe SSD and dual-channel memory are inexpensive ways to make the whole system feel fast. Our RTX 5060 guide covers the best value graphics cards.
What building a PC costs in 2026
The price of PC parts has shifted a lot over the last year. Memory in particular has risen sharply because of a global shortage driven by AI data centres, and some graphics cards sell well above their launch prices. That changes the maths of building versus buying. When you price up your PC parts, include everything: the operating system, any extra fans, cables and thermal paste, plus delivery from each store.
Then compare the total with a complete system that uses the same parts. Sometimes building still saves money, and sometimes a prebuilt costs the same or less once assembly, testing and a single warranty are included. Either way, knowing how to build a PC means you understand exactly what you are paying for, which makes you a much smarter buyer of PC parts.
Upgrading later
One of the best things about knowing how to build a PC is that upgrades become easy. The graphics card is the most common upgrade, followed by more storage and more memory. Choosing a modern platform and a power supply with headroom today makes those upgrades simple tomorrow.
Prefer us to build it?
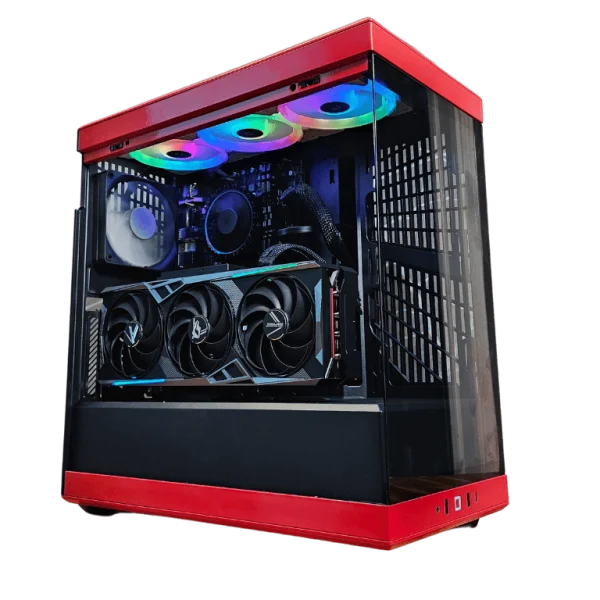
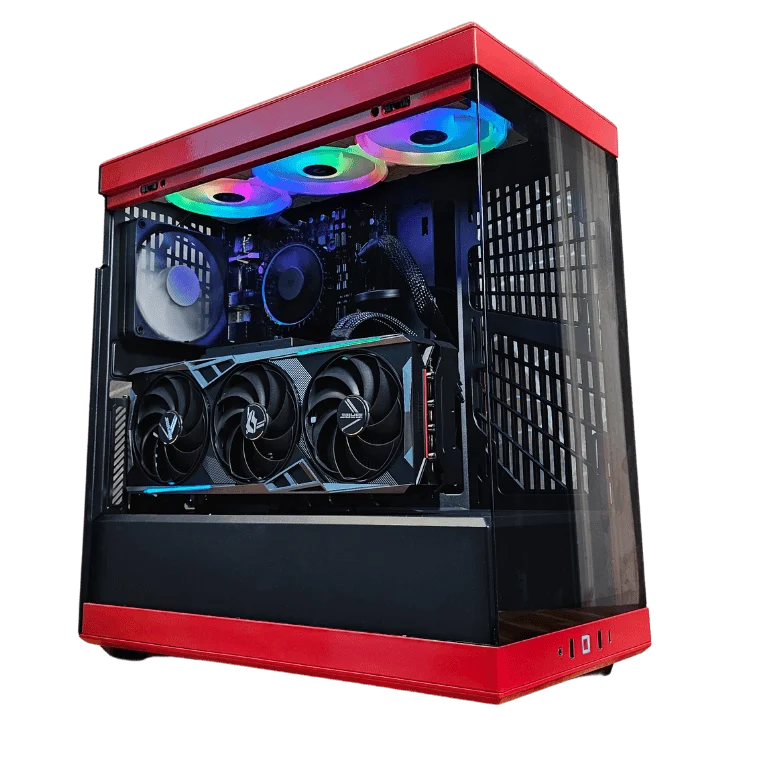
If you would rather skip the build, or you have chosen your PC parts and want a professional to assemble them, we can help. Every system we build is assembled, cable-managed, BIOS-updated, stress-tested and backed by a 12-month warranty. Tell us what you want through our contact page, or browse ready-made builds such as the red custom gaming PC and the RTX 5070 gaming PC.
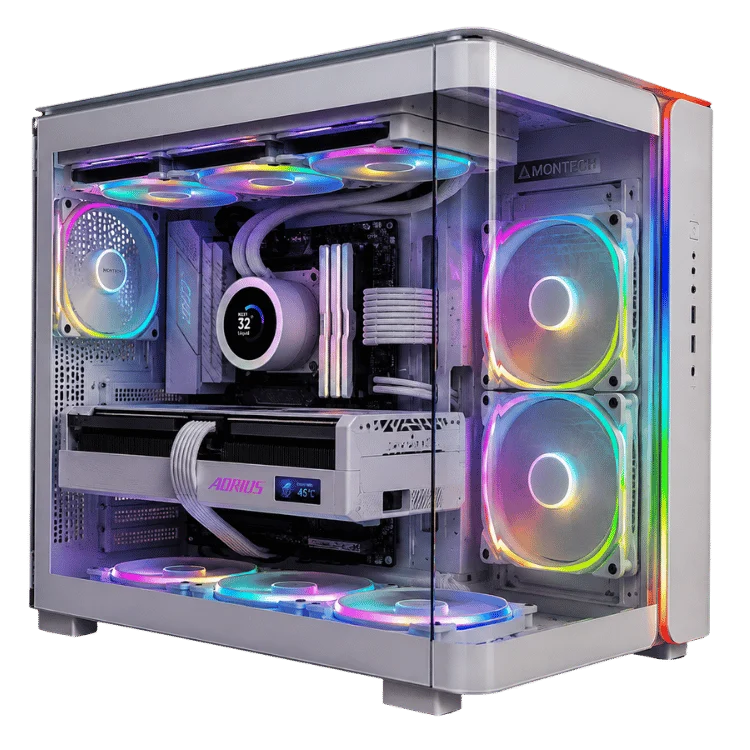
How to build a PC FAQ
How long does it take to build a PC?
For a first build, allow three to five hours including Windows installation. Experienced builders can assemble a PC in about an hour.
Is it hard to build a PC?
No. If you can follow instructions and take your time, you can build a PC. Most parts only fit one way.
Do I need thermal paste?
Most coolers include pre-applied paste or a small tube. You only need extra if you reinstall a cooler.
What PC parts should I buy first?
Start with the processor and graphics card, then choose a compatible motherboard, memory, power supply, cooler and case around them.
Can I reuse parts from my old PC?
Often the case, storage and sometimes the power supply can be reused. Older DDR4 memory will not work on DDR5 platforms.